

Diving deeper into photography
A answer to the graphic design module photography 1. I’m using a mirrorless canon camera, and the reason for that is not only the photo-opportunities, but the vlogging or film-making in 4k resolutions.
It’s a small camera, but it works for now. And one of the reasons for choosing this, is that it is smaller, and easier to carry around. I’ve also got a mount adapter to use bigger and better canon lenses for both photo and video. I’m currently using a sigma 16mm lens, and can’t wait to experiment some more with both the camera and the lens.
What I wish for as future equipment (and no, we are not taking video equipment into this list, cus that is a whole other budget) is the Sigma 18-35 f1.8 lens. If bought used it’s around 6000-8000,- nok.
If bought new it’s around 8000-10.000 nok. Depends on where I’ll buy it. It’s not an original canon lens, but this one is good both for photoshoots and video shoots. Actually – this lens is used a lot in Hollywood – and it is a midle to low budget lens. I’ve already got the 16mm sigma lens and a 50 mm canon lens. Again, low budget, but really good quality.
In this post I’ll show how I’m experimenting with the «triangle of exposure» in my camera. And what’s that? Well, it’s the shutterspeed, the aperture and the ISO. All of them controls the exposure when taking pictures.
It’s all about the lightning. And in the different settings, knowing how to control the triangle of exposure – you’ll know how to take great photos in every situations. Night, golden hour, sunlight, mid-day, cloudy day and so on.
Shutter speed is how slow or fast the plates inside the camera is closing. If it’s slow – it’s letting in more light. If it’s fast, it’s letting in little light. A slow shutter speed gives you the opportunity to capture the movement. Let’s say a smooth waterfall. A fast shutter speed is great to use when you want to capture something with speed.
Aperture is the dept of field. A high aperture gives the photo details both in the front and in the back. Let’s say if you’re shooting a landscape photo; with high aperture you’ll see the details better on the mountains in the back. If you want a portrait with a bookeh background, you should use a lower aperture.
ISO is the light sensitivity. So with high ISO – the lighter the photo would get. But be aware; that would also mean lower quality and more grains in the photo.
That sums it up, I think!

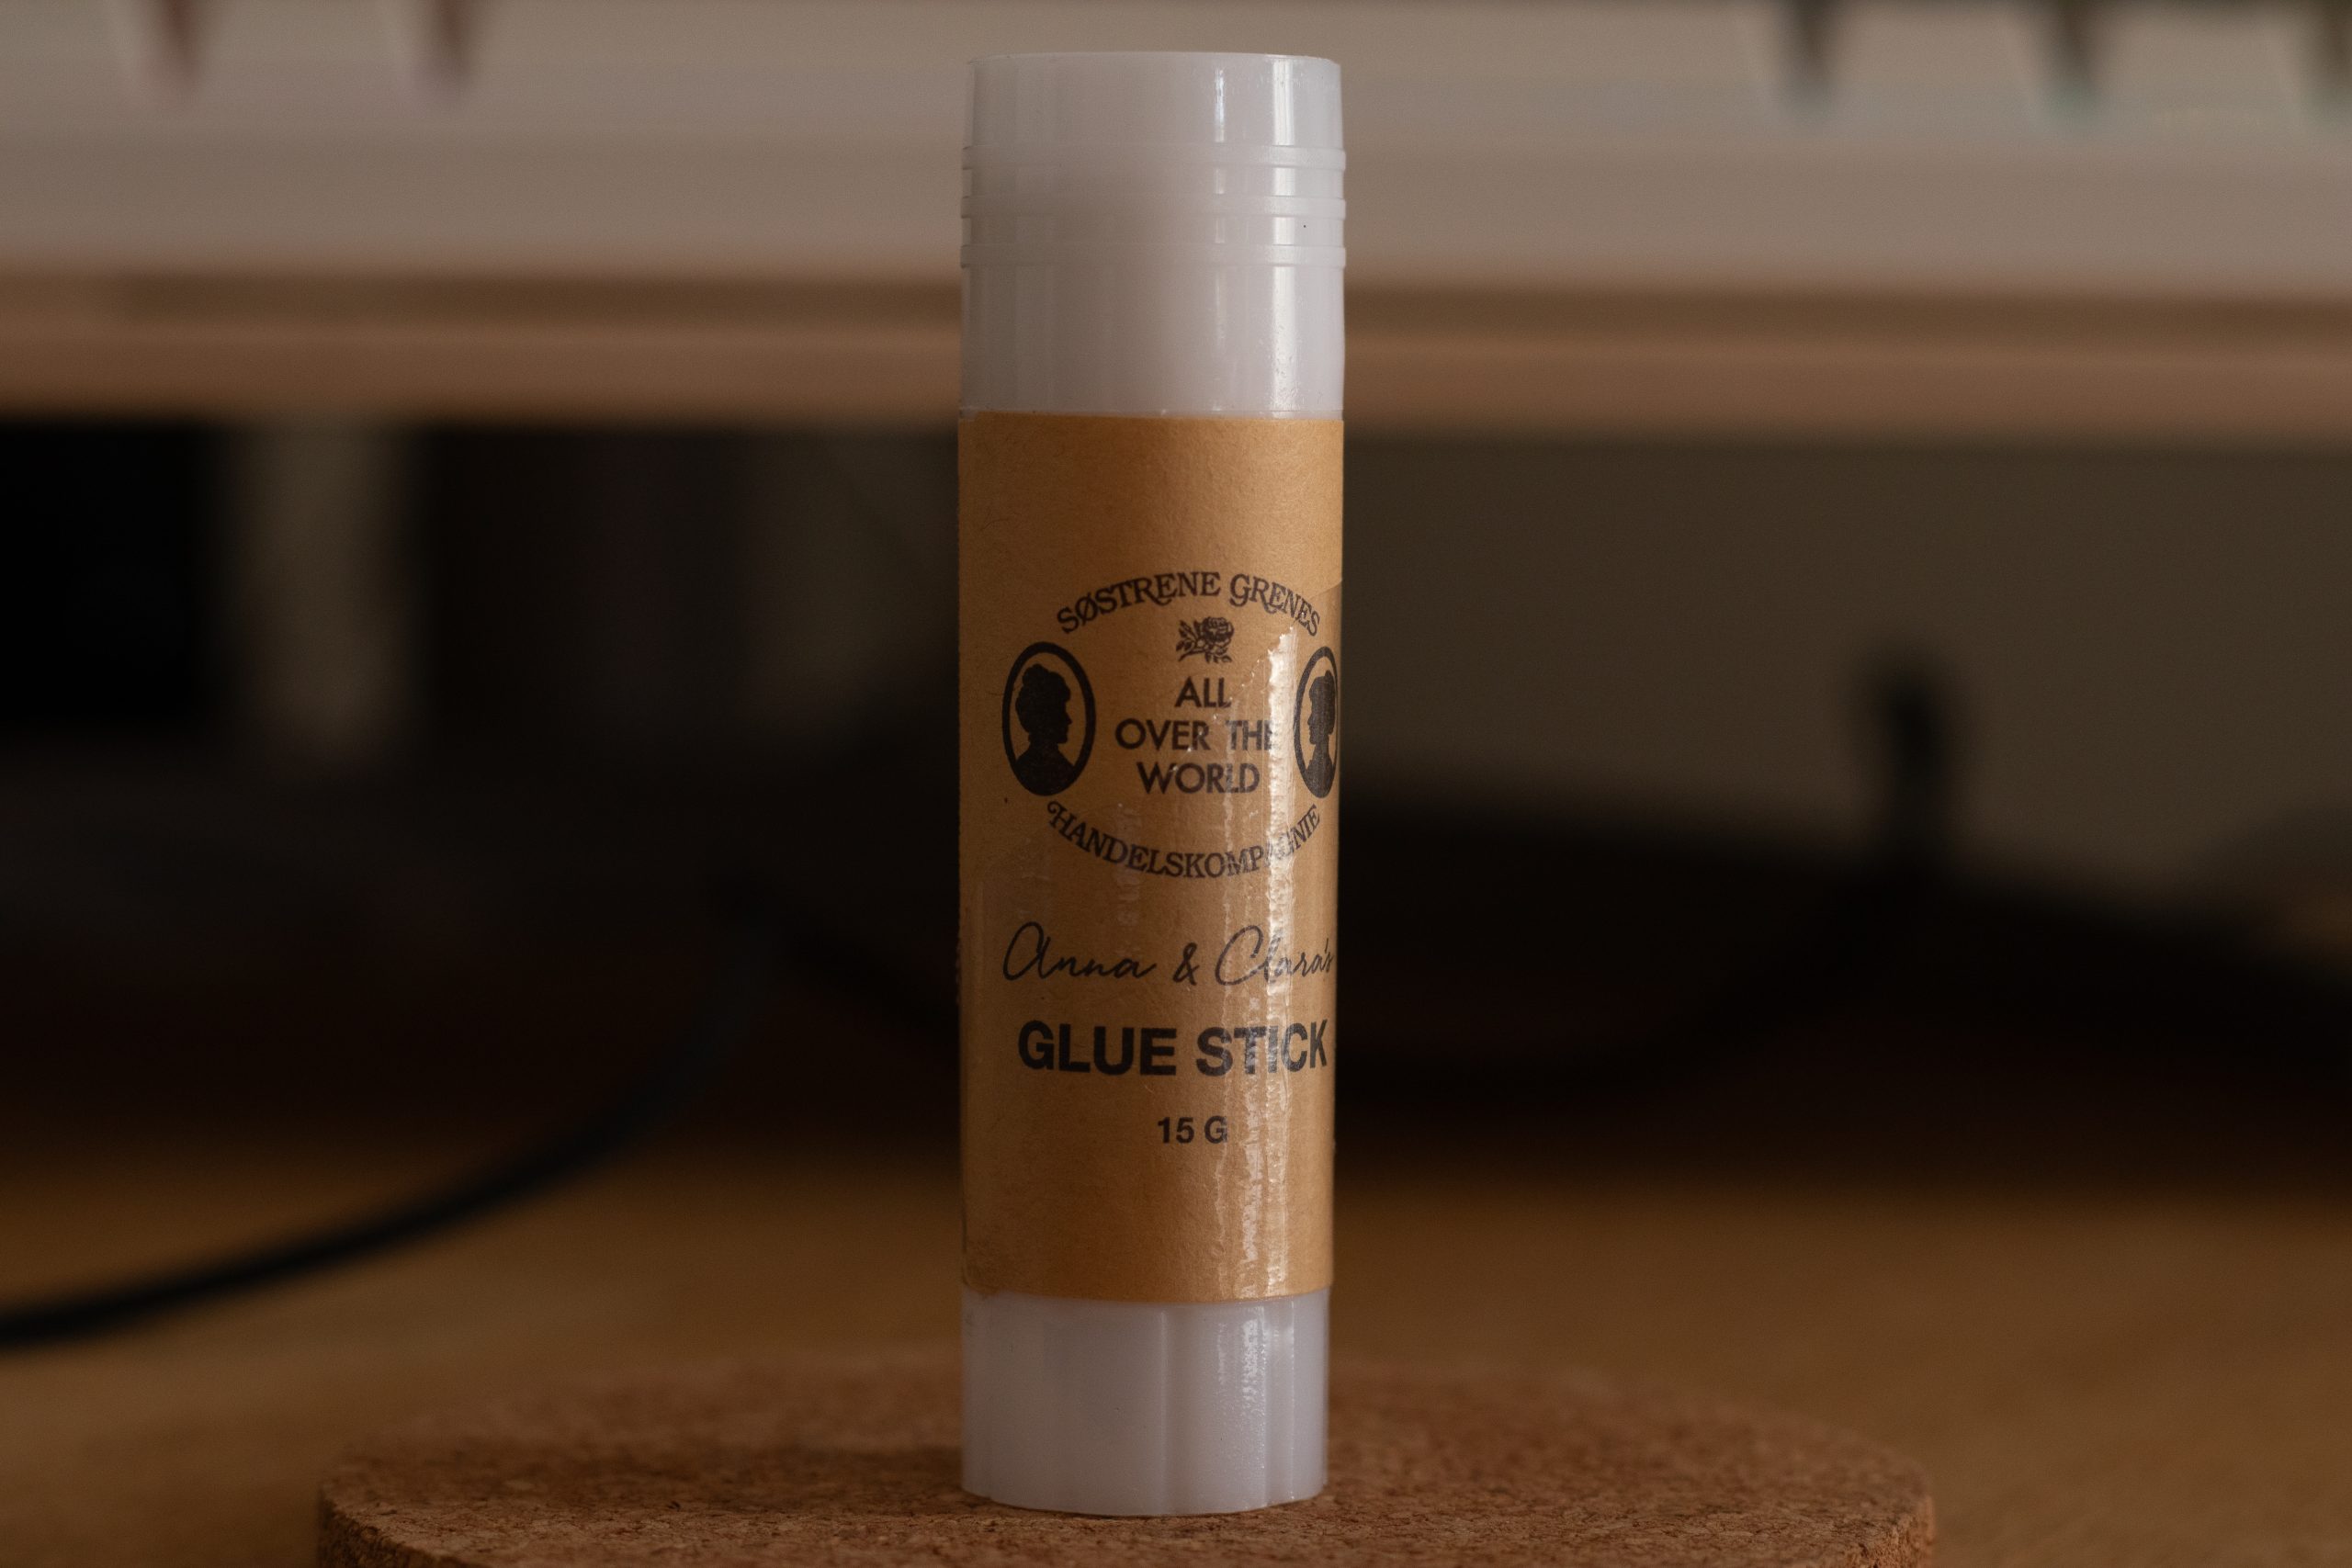
I’ve tested out 3 different white balance settings manually on the canon m50. This first picture of a glue stick (!) is with the 1/30 in shutter speed, F2.0 in aperture and an ISO of 100. The low aperture gives an unclear background.
Same element in frame but with different settings. Almost enough light. Shutterspeed 1/60, aperture F4,5 and ISO 400. Higher aperture means more visible details in the back. Shutterspeed at 1/60 means that it lets in less light, and the picture is getting darker. That’s why I needed to increase the ISO – to give the photo more light.

And the last one; Shutterspeed 1/100, aperture F8.0 and ISO 1600.

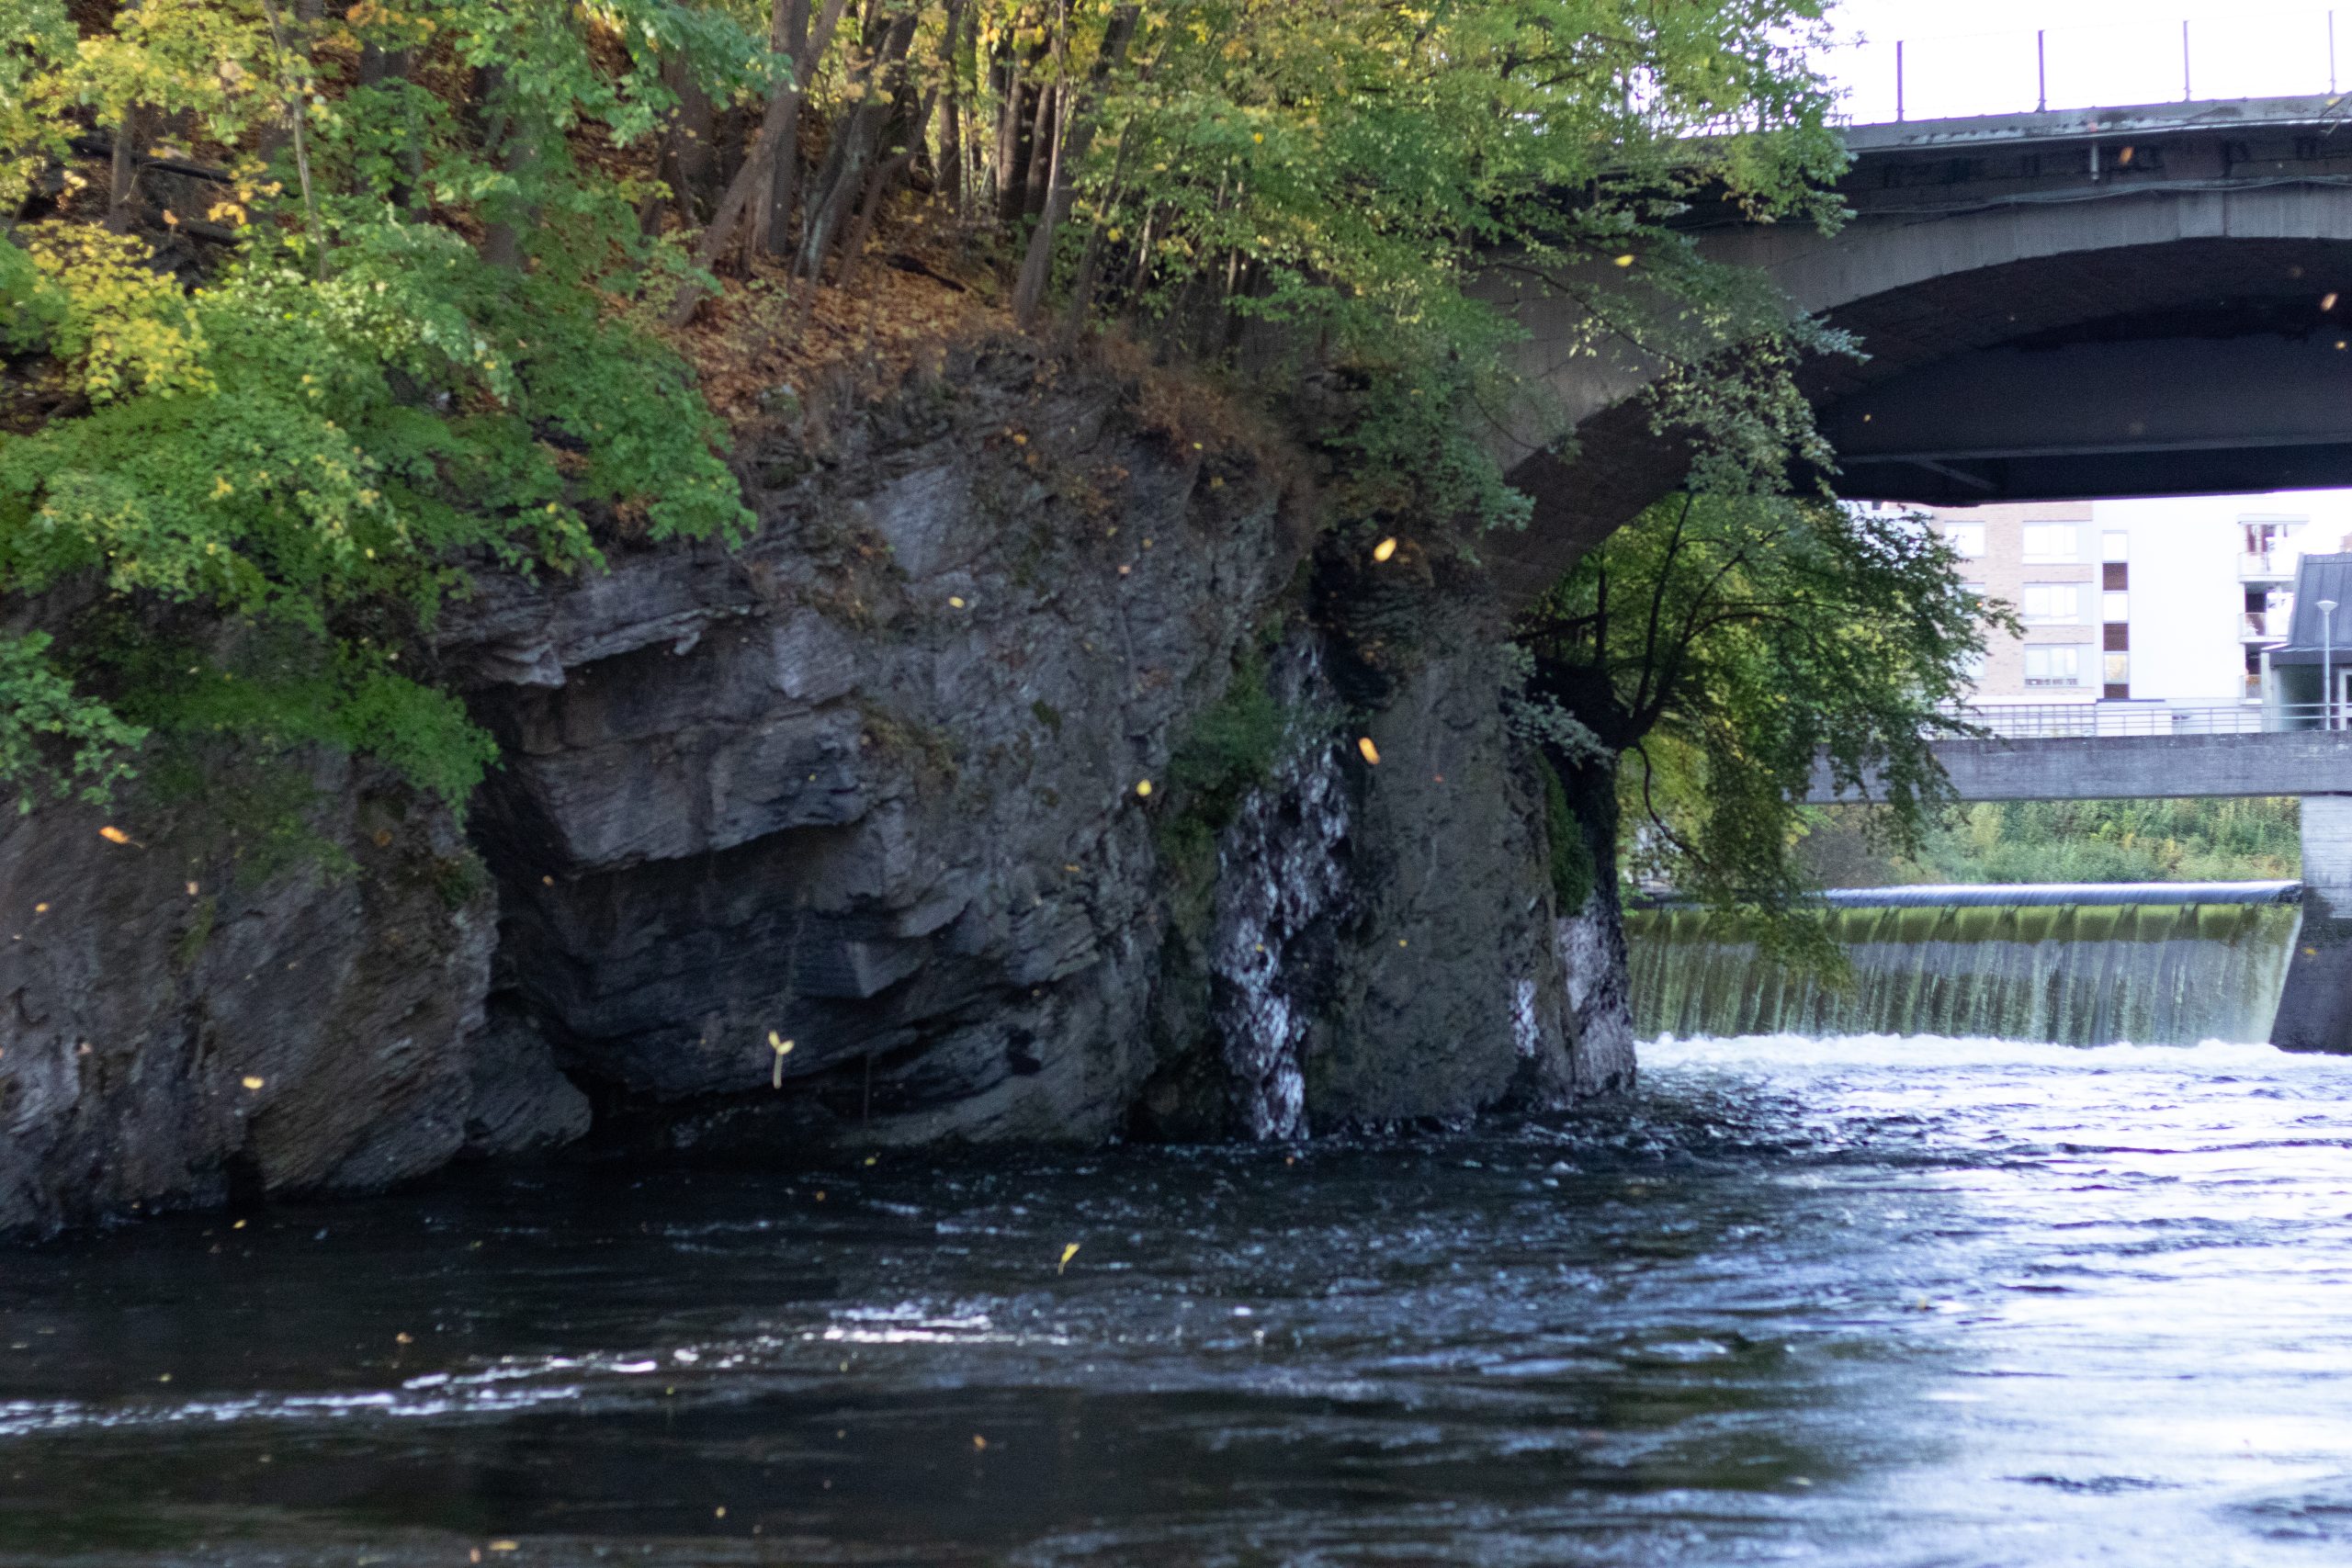
I tried to take a photo with my 50 mm lens, shooting the water outside my home.
The first picture is with a shutter speed that blurs the movement from the water. All the way down to 0/4 and with a really high aperture of F/22. Because of the sunlight this was a really difficult one, so I have to go outside later in afternoon, or at a cloudy day. Trying to balance the light in a sunny day is rather difficult. And it resulted in a not so great quality – more grains in the photo. (both of them) The other picture has higher shutter speed (letting in less light) and with this 50 mm lens I had to go all the way up to 1/2000 in shutter speed, F/2,8 in aperture and ISO 2000 giving it a lot of grains. Not the best lens for this use, tough, but the only lens I could use to get «closer» to the waterfall.


Here I tried to shoot white on white. Tough in my living room with a really yellow light. Not exactly a perfect match. Could of course edit them into cooler, more whiter light. The first picture is with an aperture of f/11 and shutter speed at 0.4. The next one with aperture of f/11 and shutter at 1/8. This is what the camera thinks is balanced. Tough it seems kind of grey. I had to go to a shutter speed of 0.4 (way slower) to get a lighter photo. Iso is on both photos a 100. (lowest possible.) This is just to check what my camera wants, and it really prefers the grey tone.

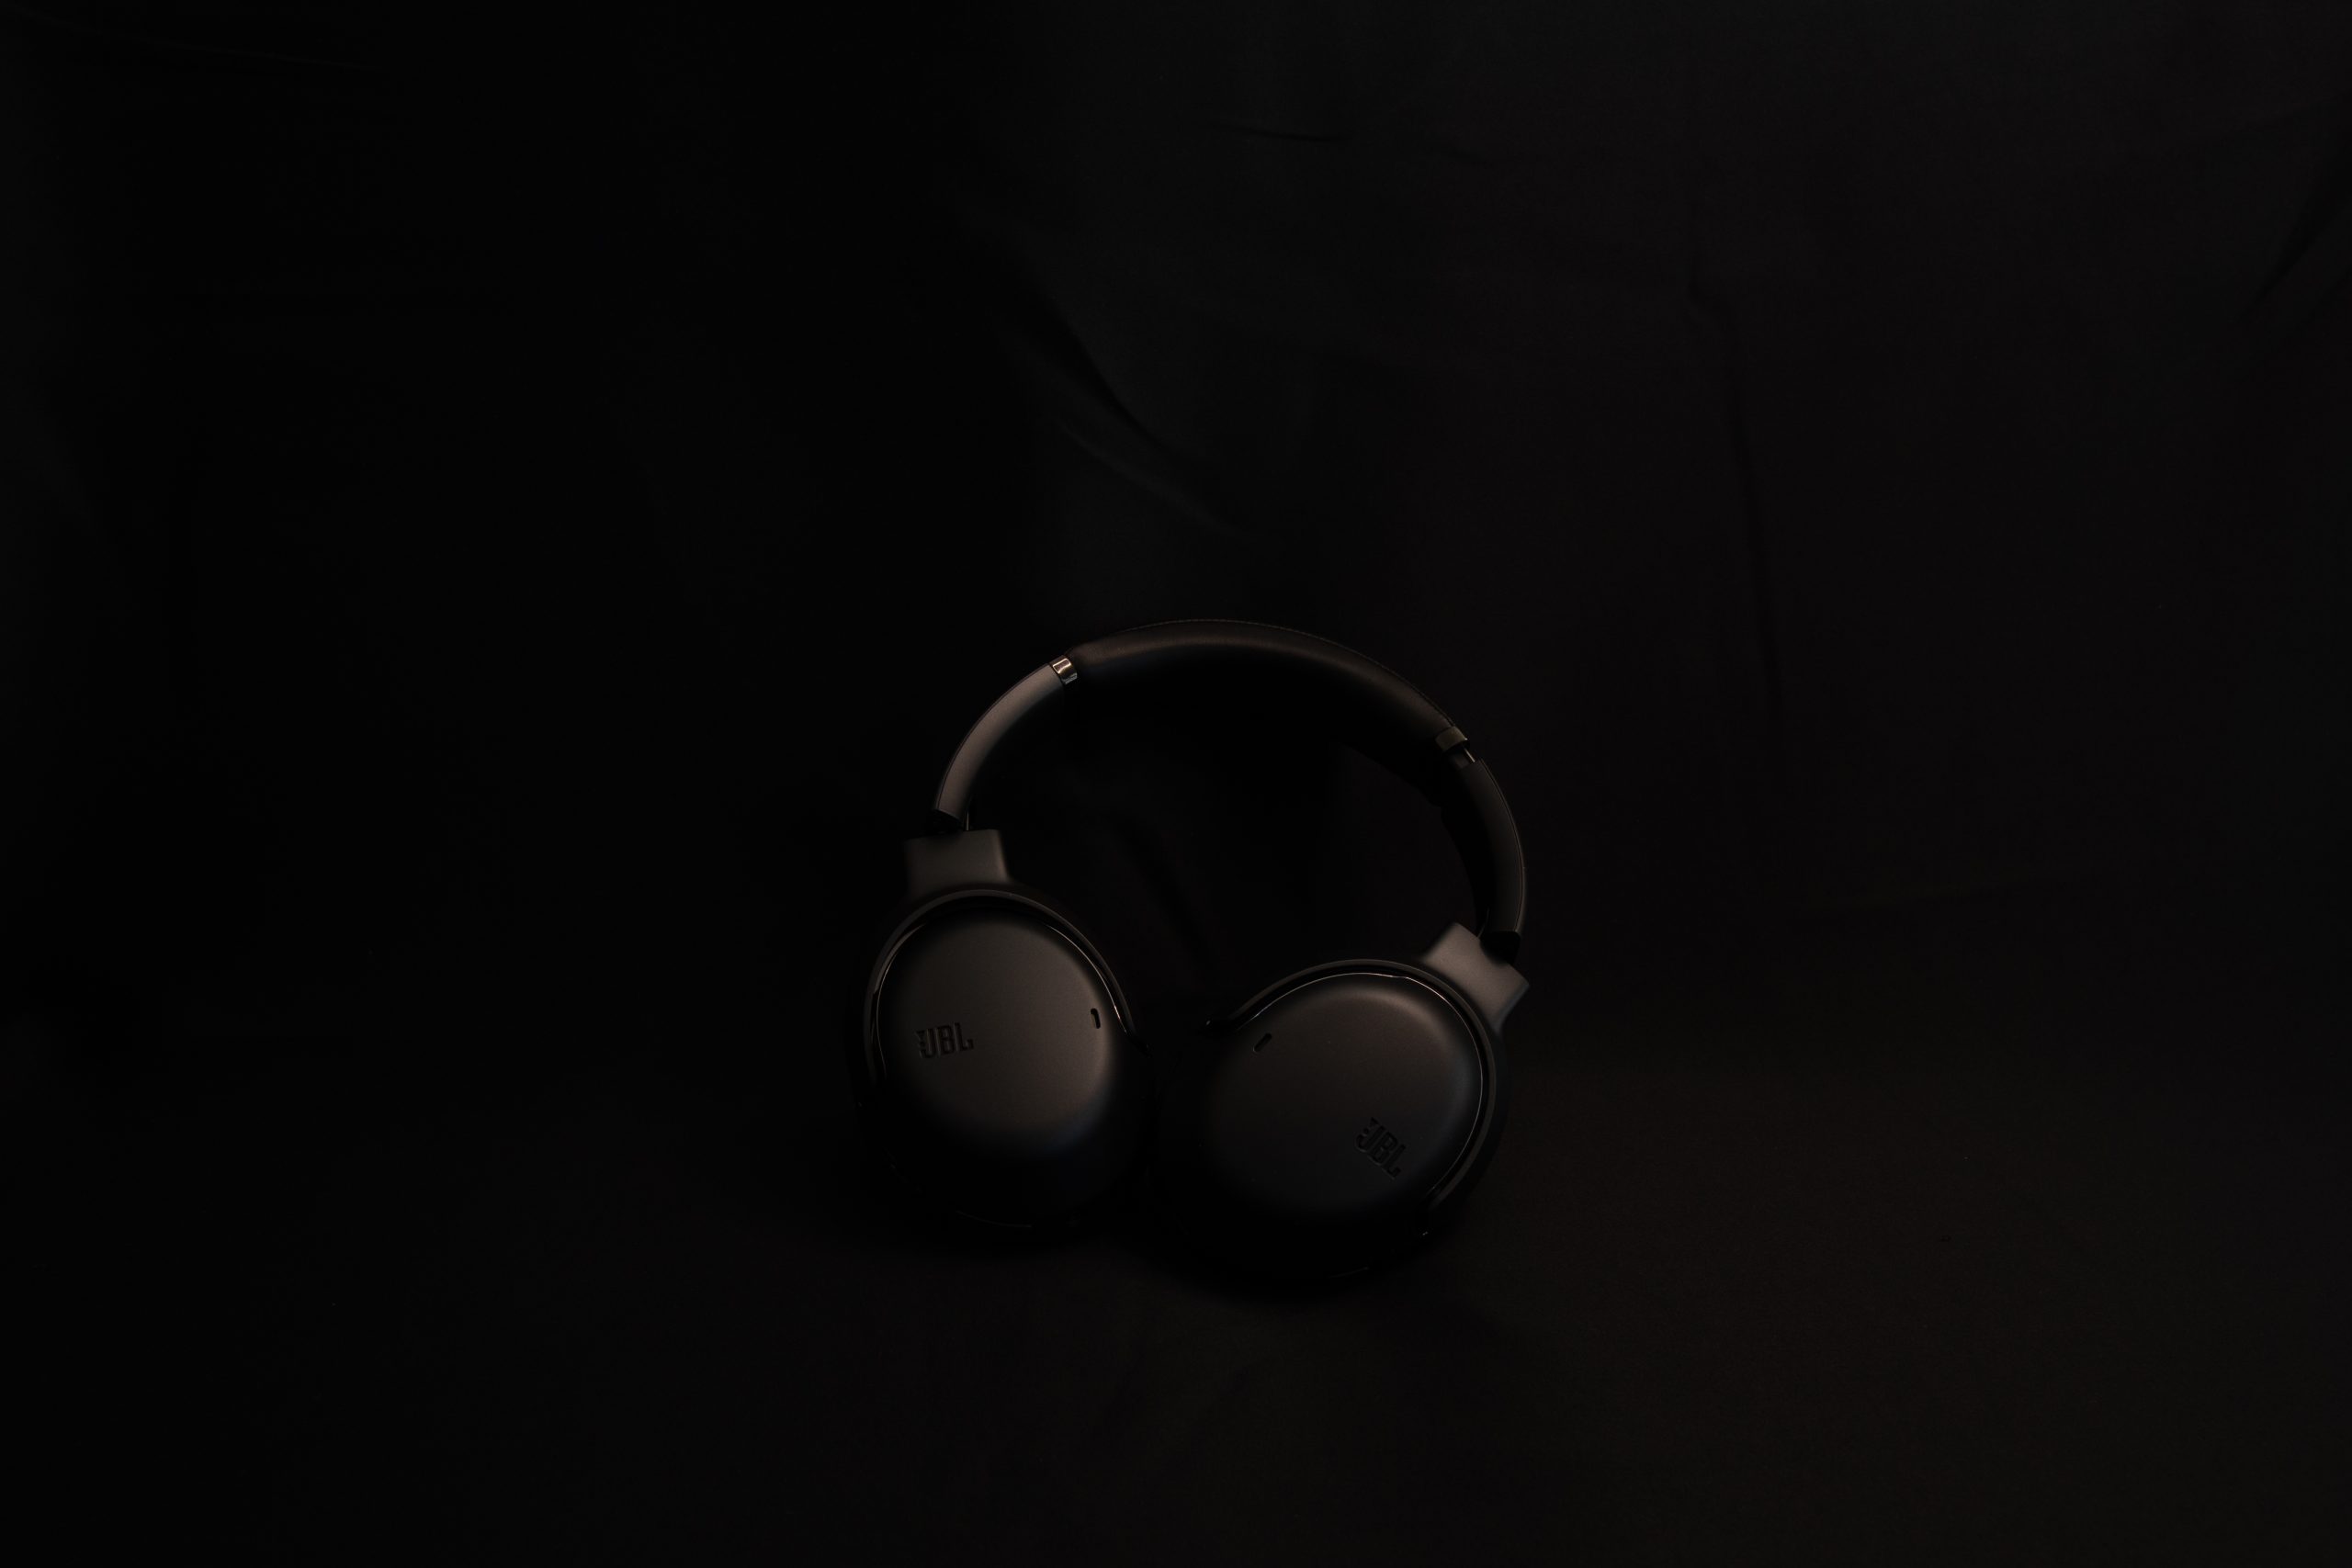
The next one shows the exact same thing. Black on black, but still in my living room and in daylight. I also tried to shoot a photo in a darker setting, in the evening with a natural light stand. Check out the photos further down. The first photo shows again the grey tone. (And ofc way to yellow light) Aperture f/8 and ISO 100.
The shutter speed is 2. This is what the camera prefers to be in balance with an aperture of f/8 and ISO of 100.
At the darker photo – to get away from the grey tones, I had to increase the shutter speed to 1/8 (letting in less light)
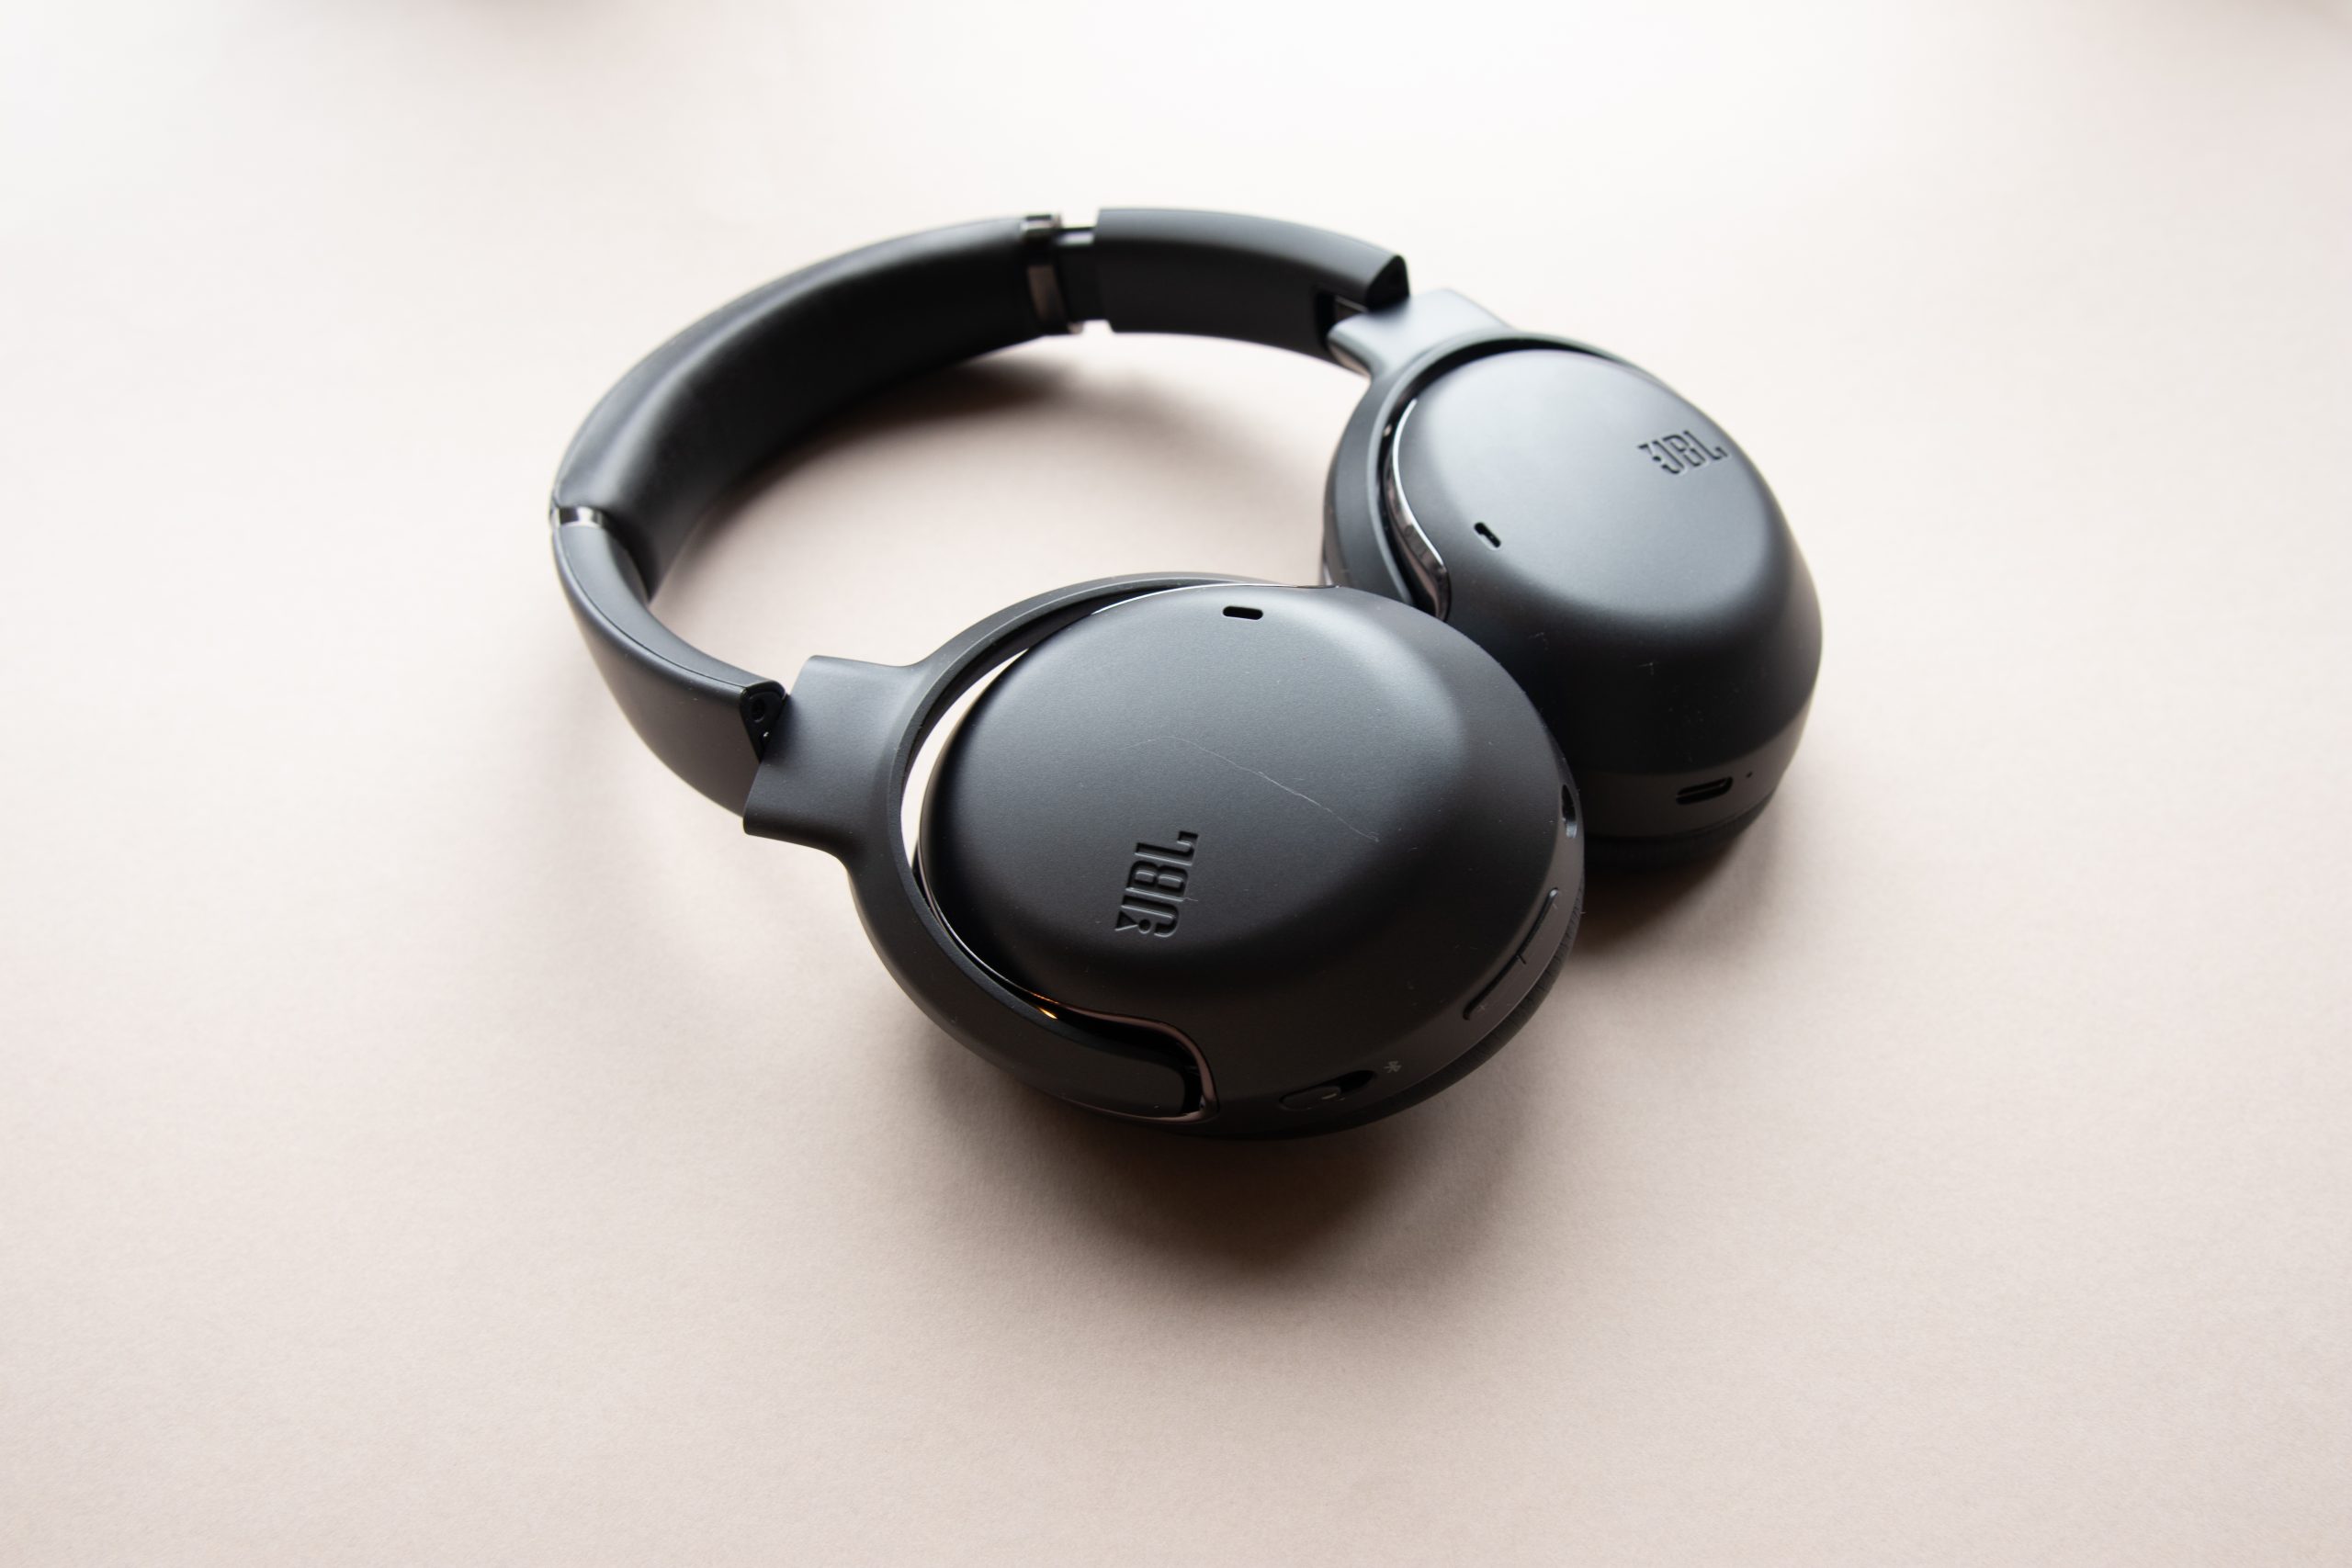
This photo was taking right next to natural light from the window. The lights are kind of spot on here, with an ISO of 100, aperture of f 5/6 and the shutter speed at 1/8. It’s still a vague grey tone in the photo – but this is what my camera wanted the exposure to be.
Under you’ll see some experiments with the camera today. Using really low shutter speed and more aperture to create the dept of field. Like on my son’s portrait.
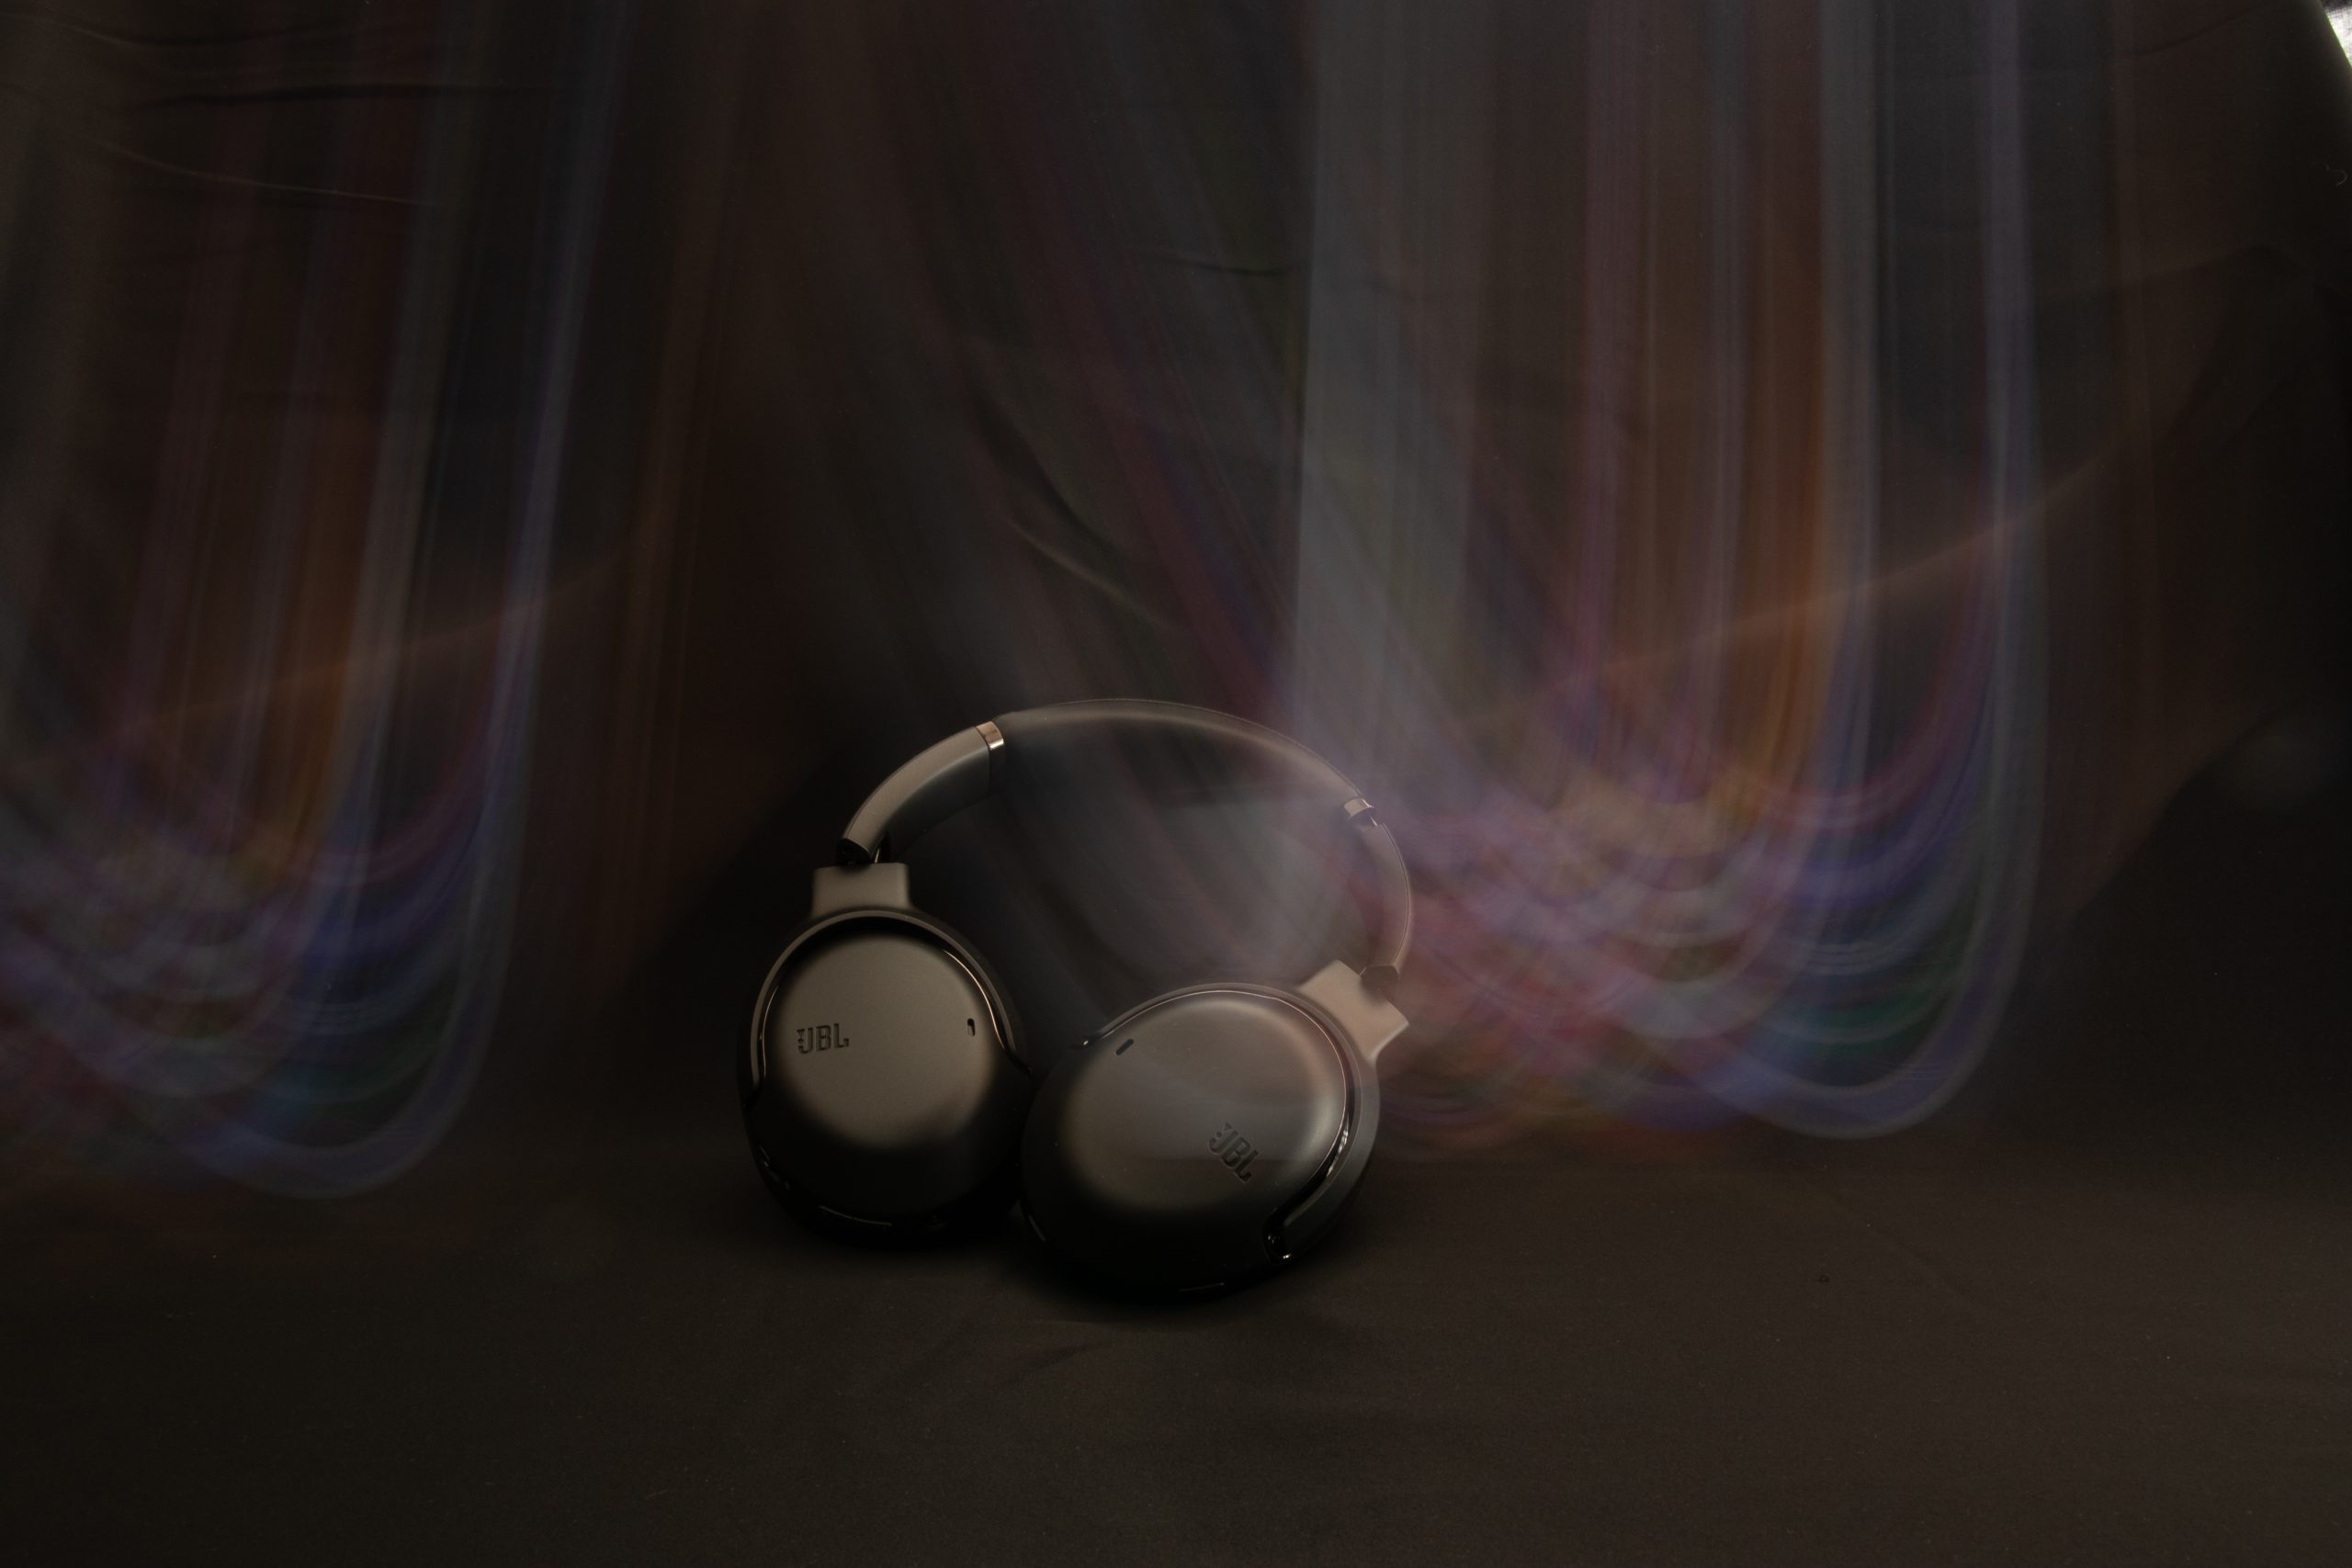

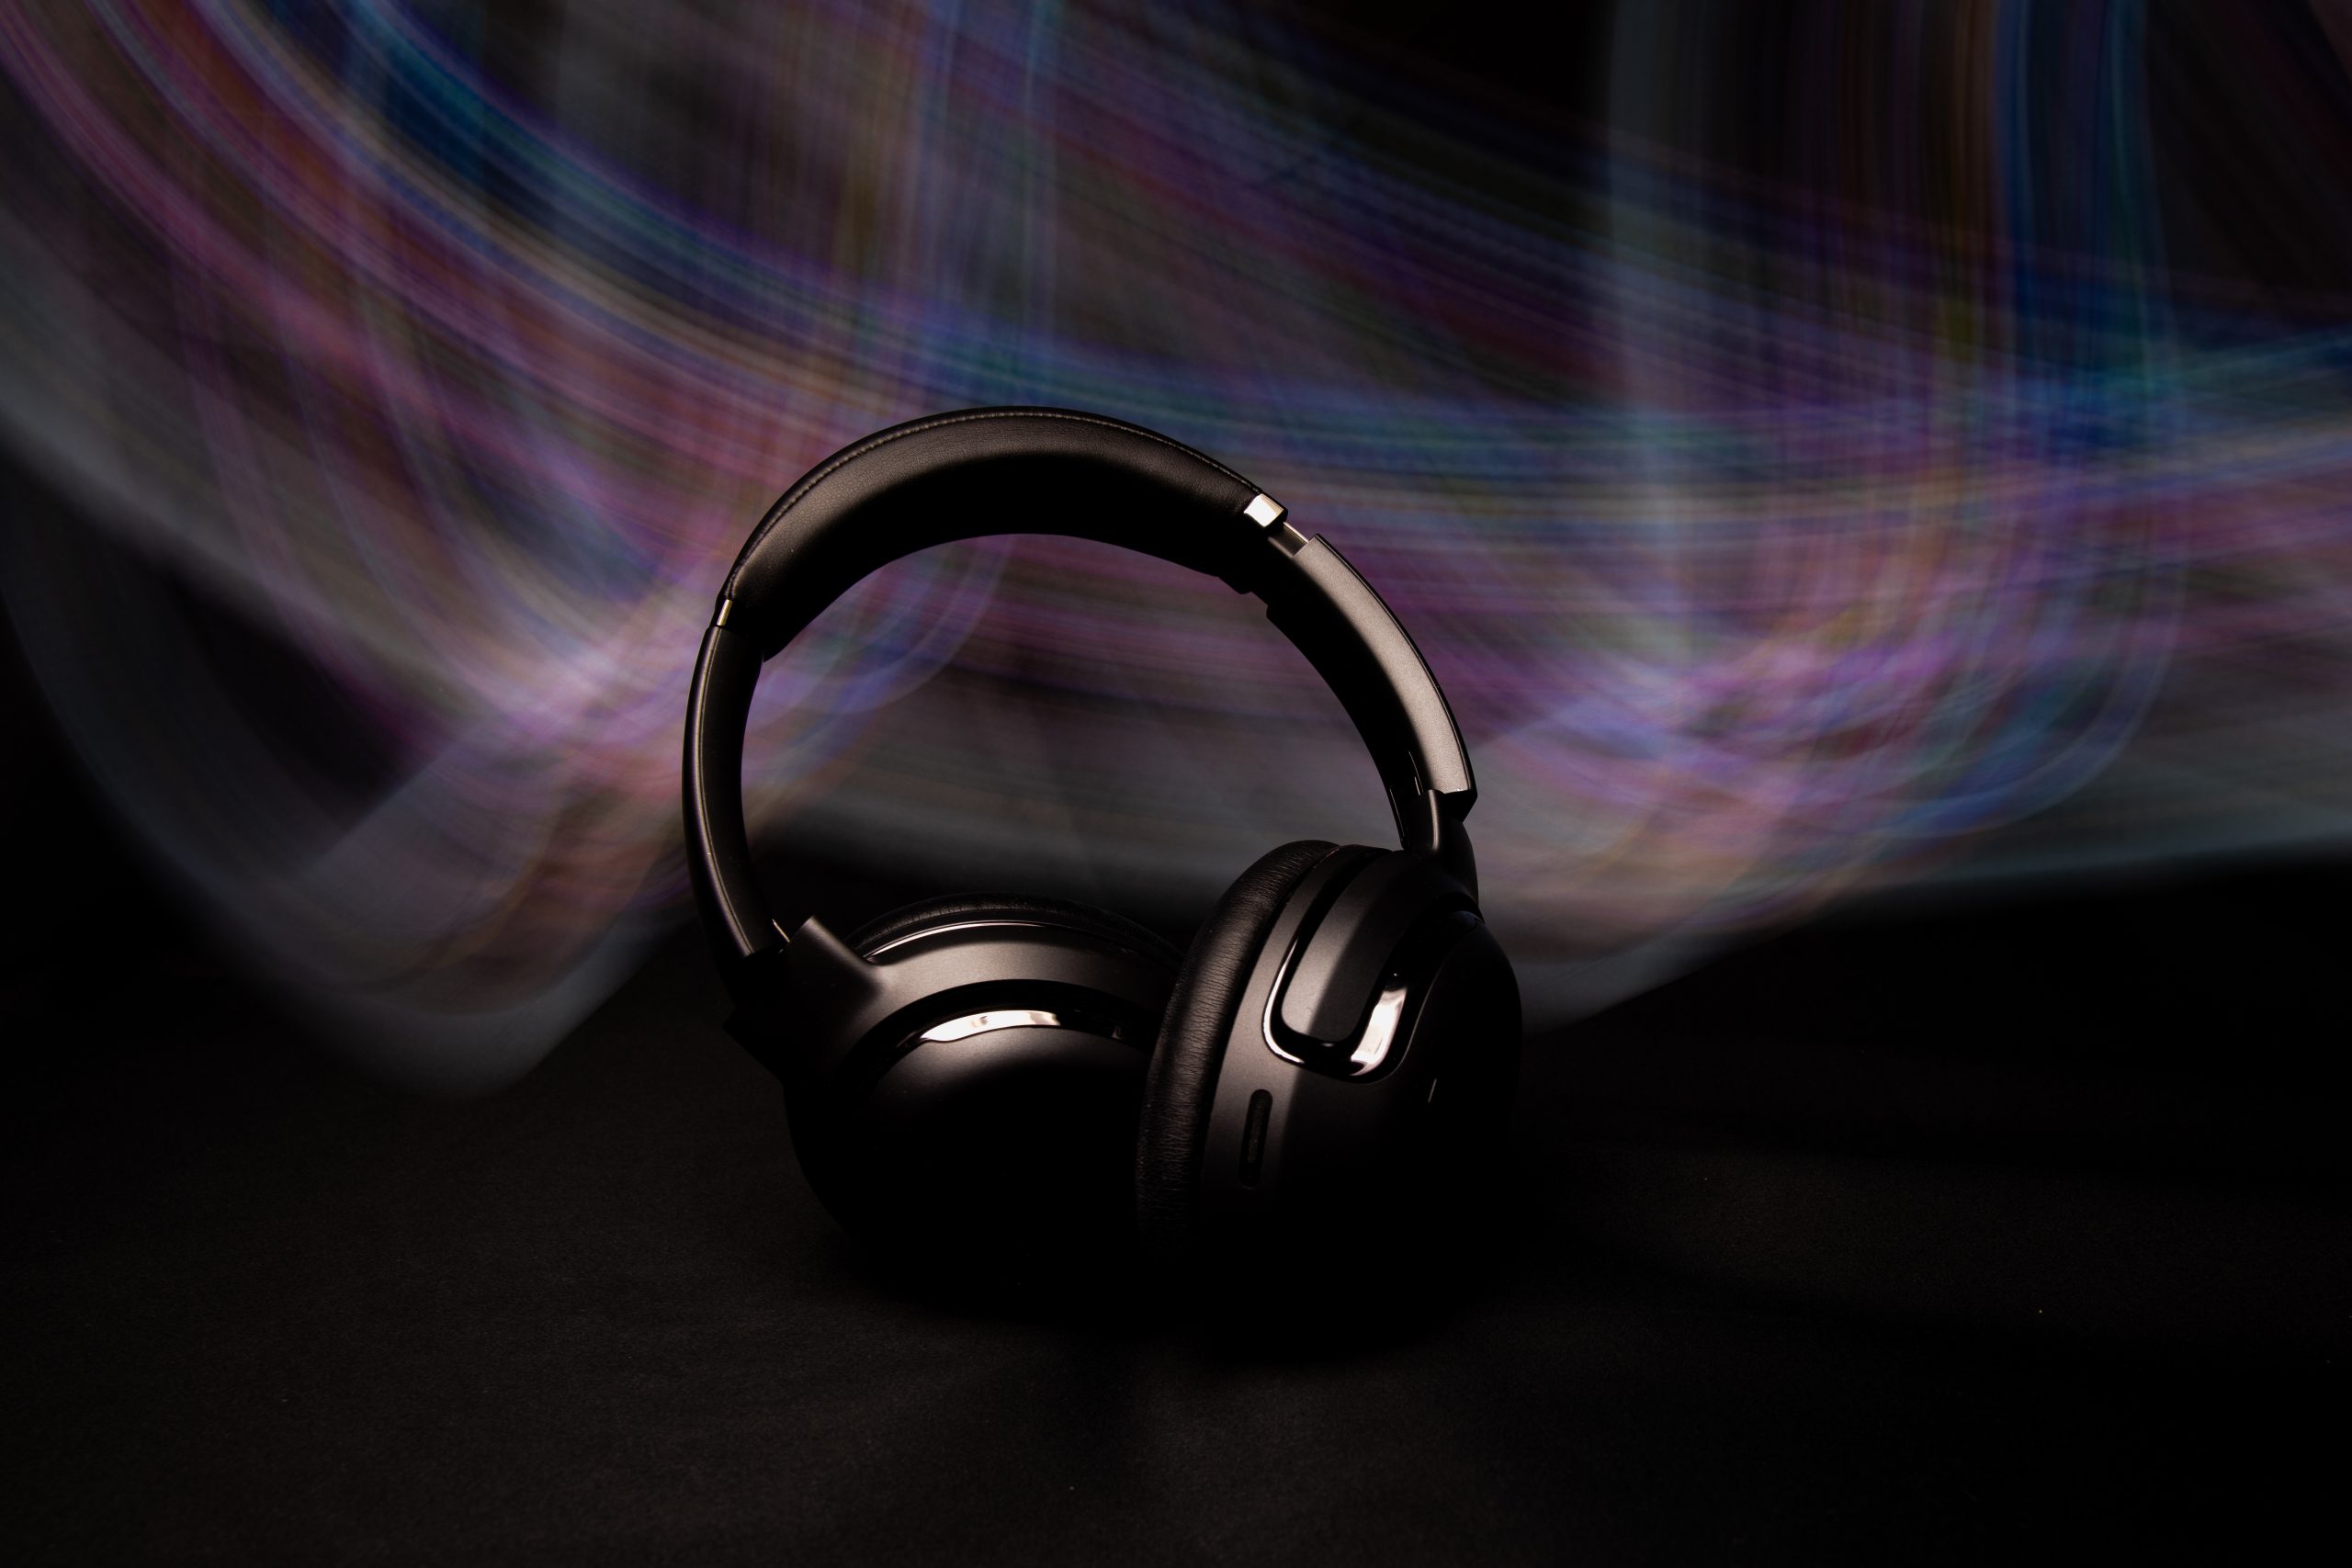
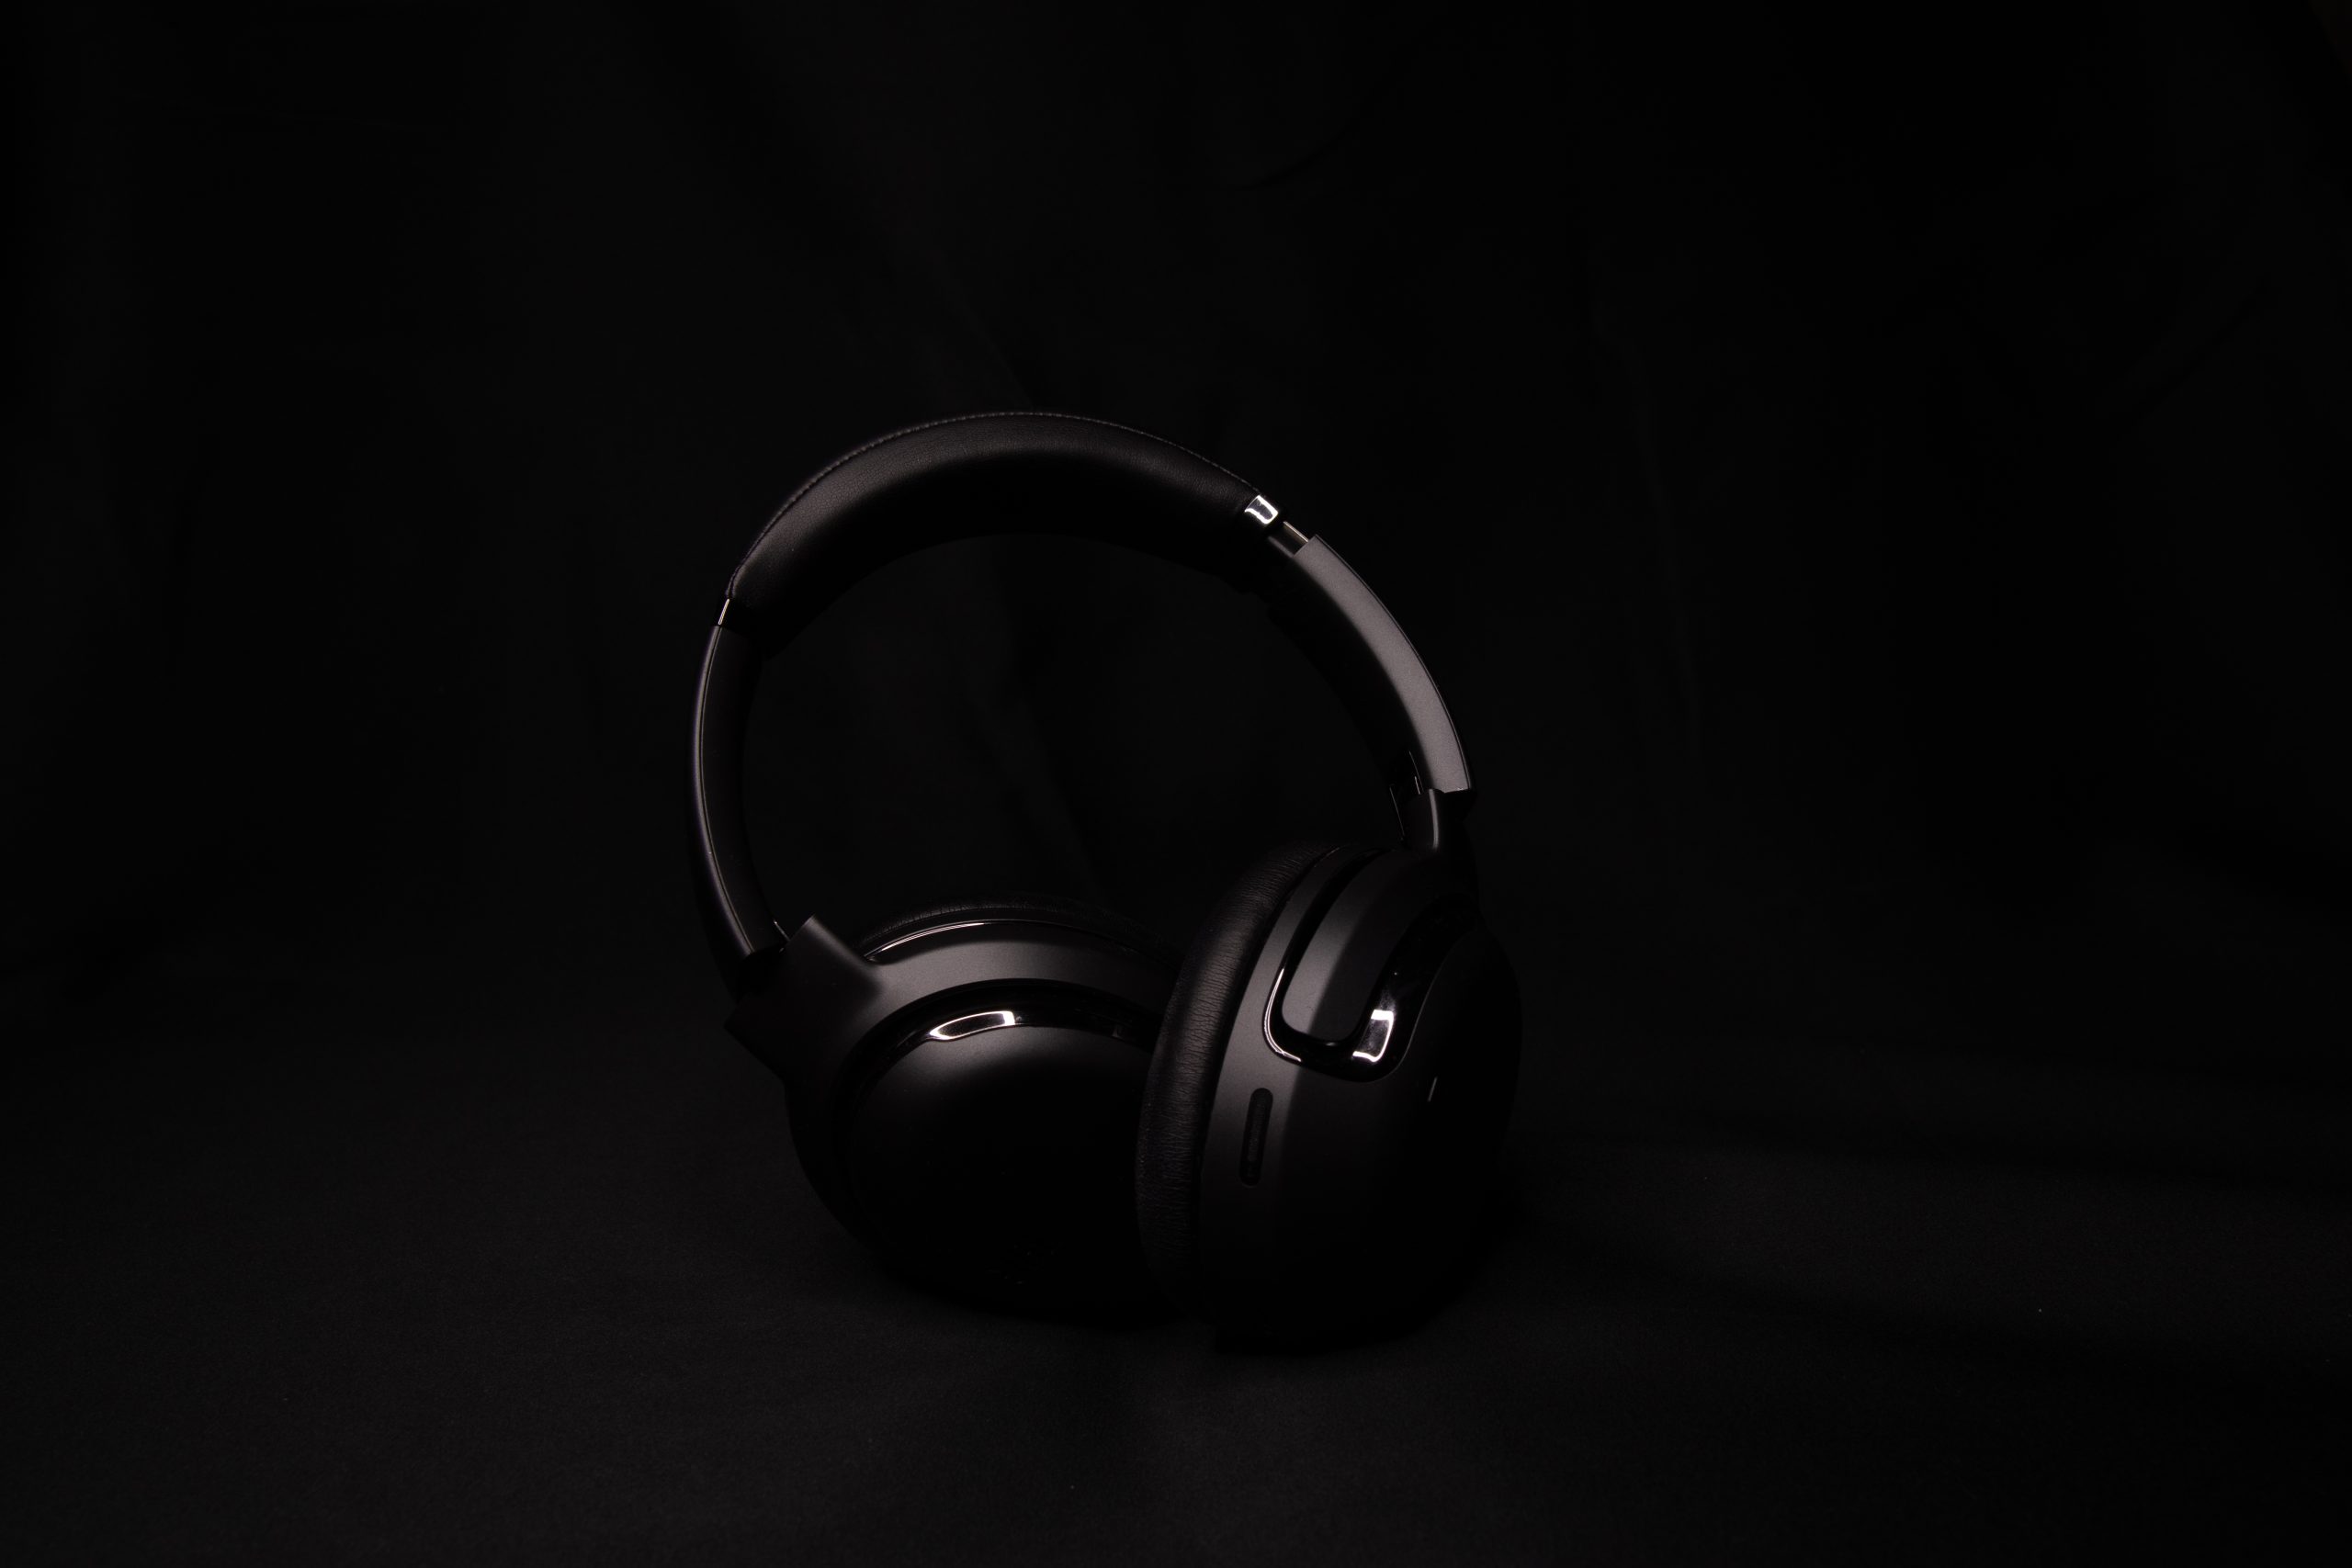
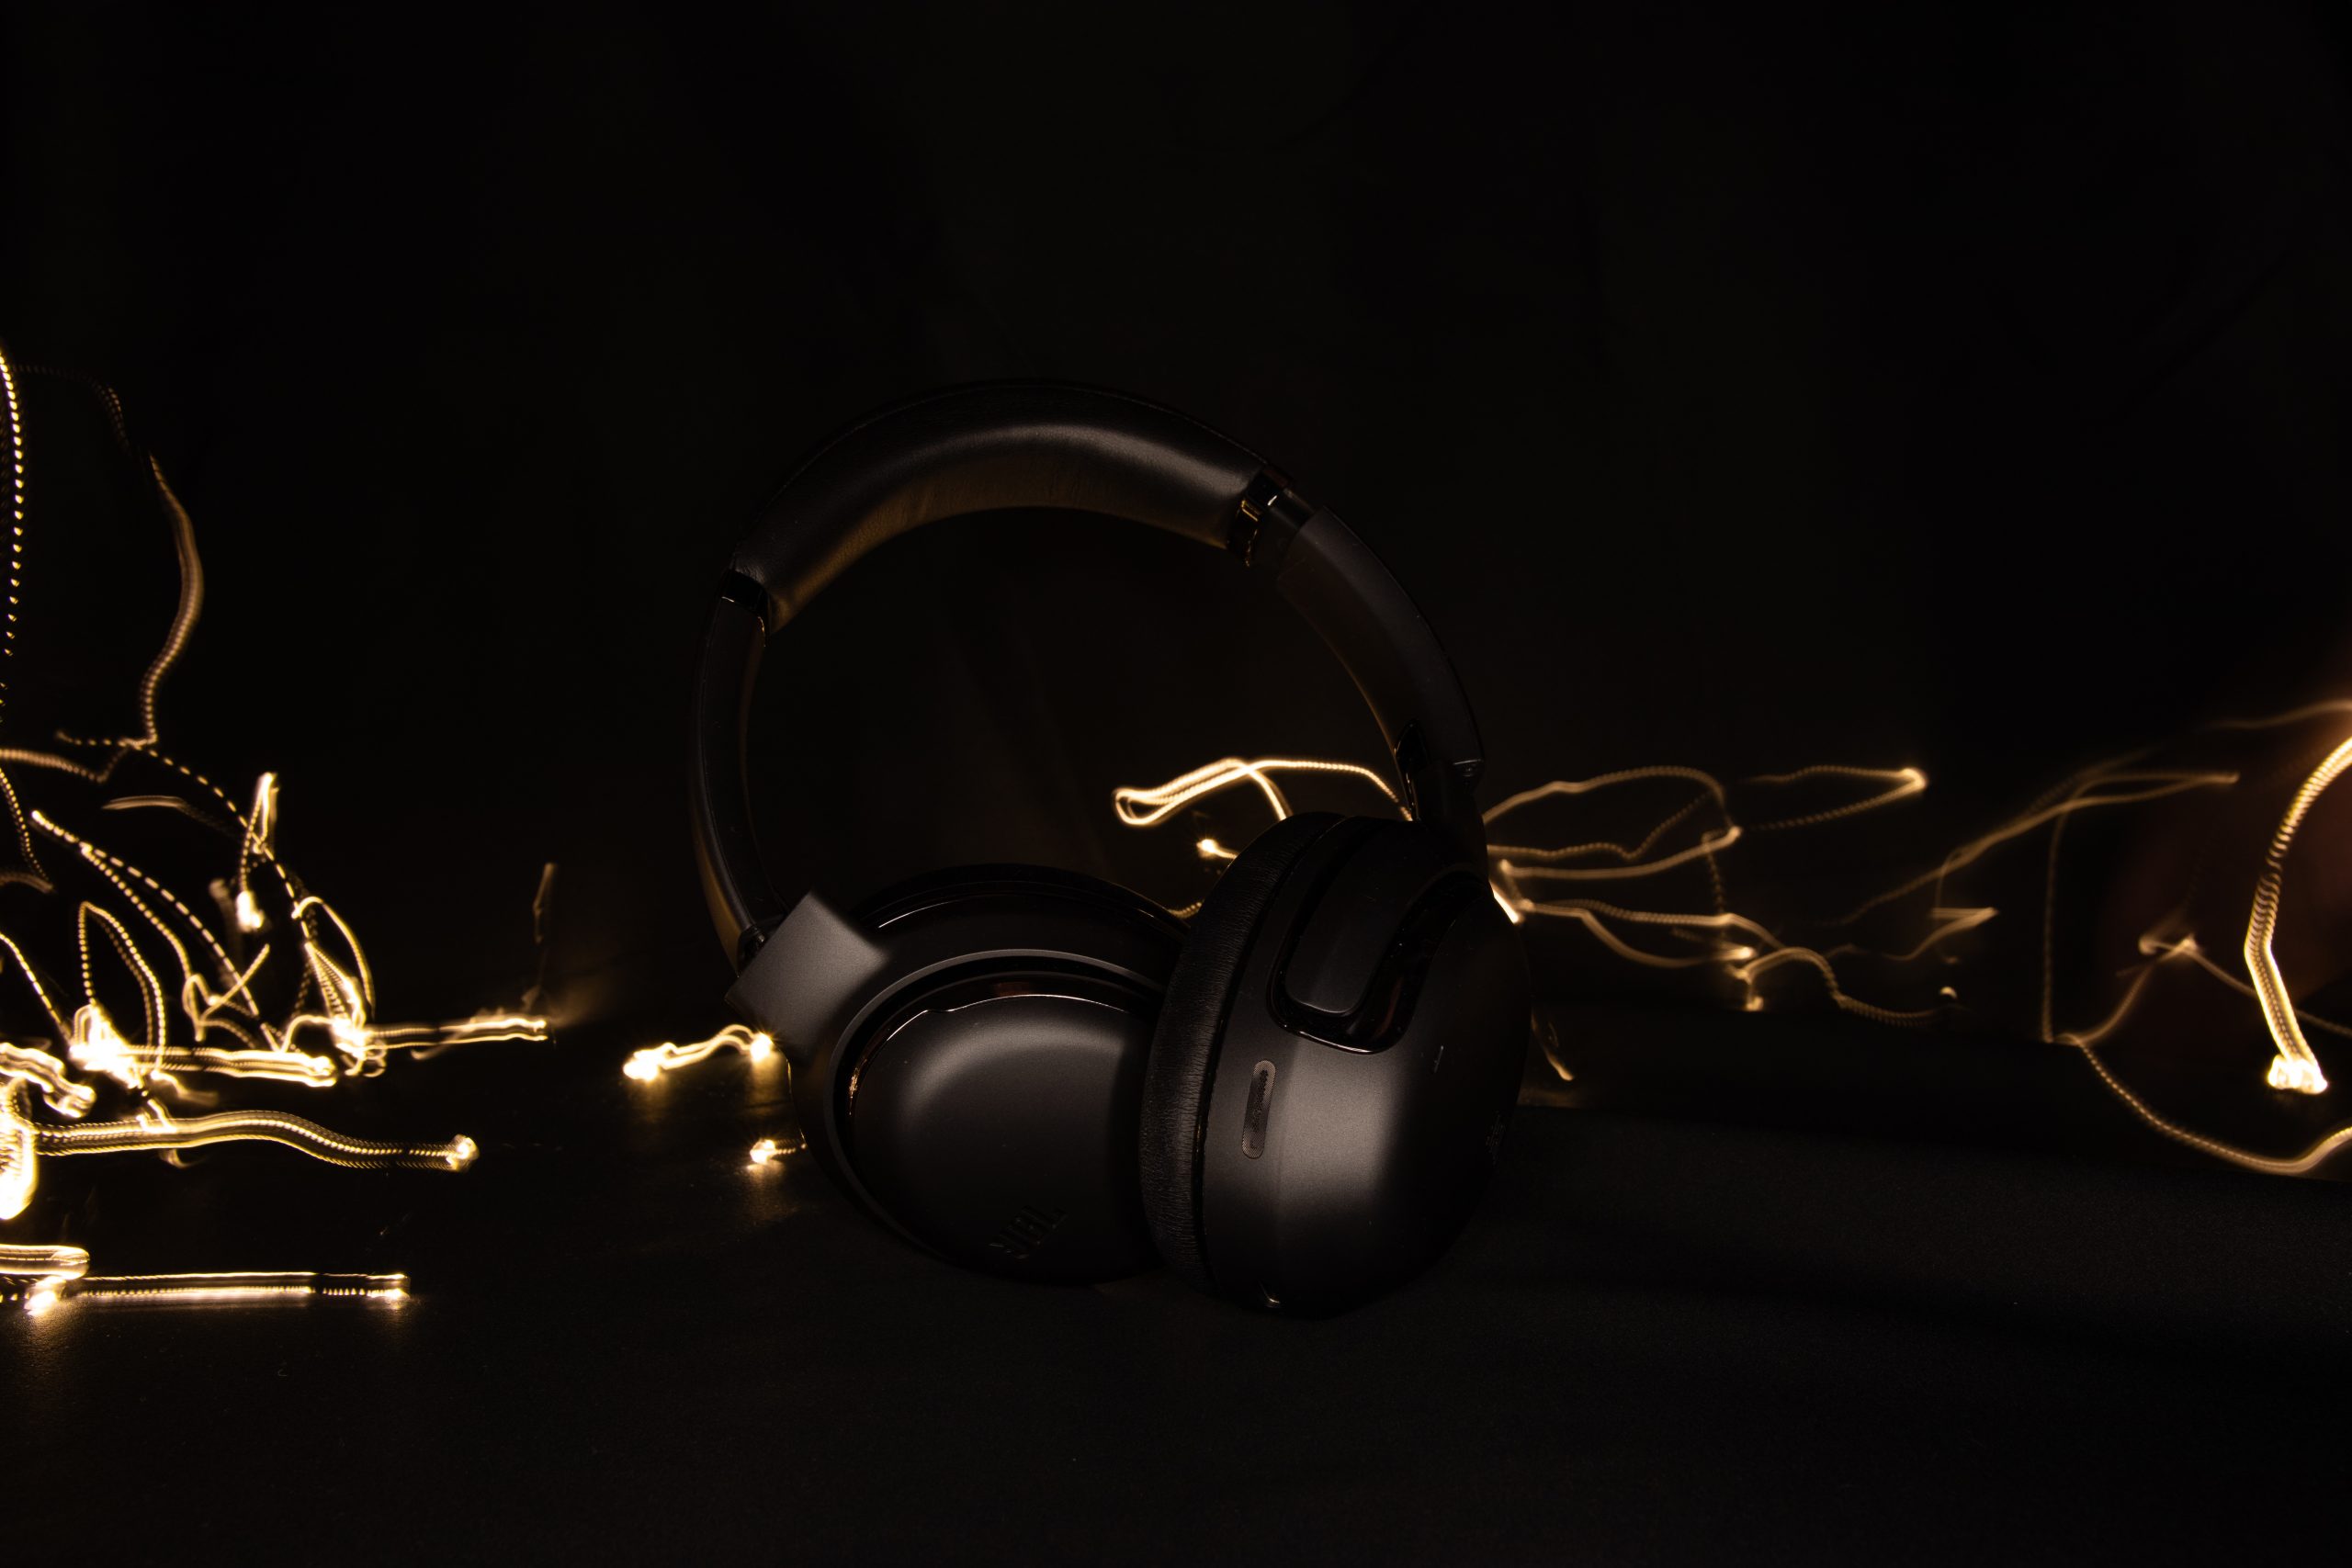
Under you’ll se more photos with light effects in the background. Using a low shutter speed and higher aperture. Iso are still at around 100. To get this effect I used my phone behind the headset. I also used Christmas lights to get more details in. A lot of fun!


What do you think?
Can’t wait to dive deeper into photography. Feel like I’ve learned a lot already. Though, I need to get out there and practice some more.